Oct 14, 2026Guides/Insights
How to Choose a Carrying Case for Test & Measurement Equipment
Compare carrying cases for test and measurement equipment. Learn what to check for instrument fit, foam inserts, probe storage and transport protection.
How to Choose a Carrying Case for Test & Measurement Equipment
A good carrying case for test and measurement equipment should do more than fit the main instrument.
For multimeters, analyzers, meters, sensors and other portable test equipment, the case often needs to carry the device, probes, test leads, cables, chargers and other accessories as one complete kit.
Before choosing a case, here are five practical things to consider.
1. Start With the Complete Equipment Set
One of the most common mistakes is choosing a case based only on the dimensions of the main device.
First, list everything that needs to travel with the equipment:
- Main instrument
- Probes or sensors
- Test leads and cables
- Charger or power adapter
- Batteries
- Small accessories
- Manual or documentation
This helps determine not only the case size, but also how the interior should be organized.
For a custom project, a simple photo showing the complete equipment set is often a useful starting point.
2. Choose the Case Size Around the Equipment
The external dimensions of the device should not simply become the internal dimensions of the case.
Extra space may be needed for:
- Protective foam around the instrument
- Connectors, knobs or other protruding parts
- Accessory storage
- Easy removal of the equipment
- Proper case closure
A case that is too tight can make the equipment difficult to remove, while an oversized case may allow unnecessary movement during transport.
If a suitable existing EVA case size is available, it can often be a practical starting point before considering a completely new shell size.
3. Decide What Needs Fixed Protection
Not every item inside the case needs its own foam cavity.
The main instrument usually benefits most from a fixed position, especially when it has a screen, controls, connectors or other areas that need protection.
A typical layout might use:
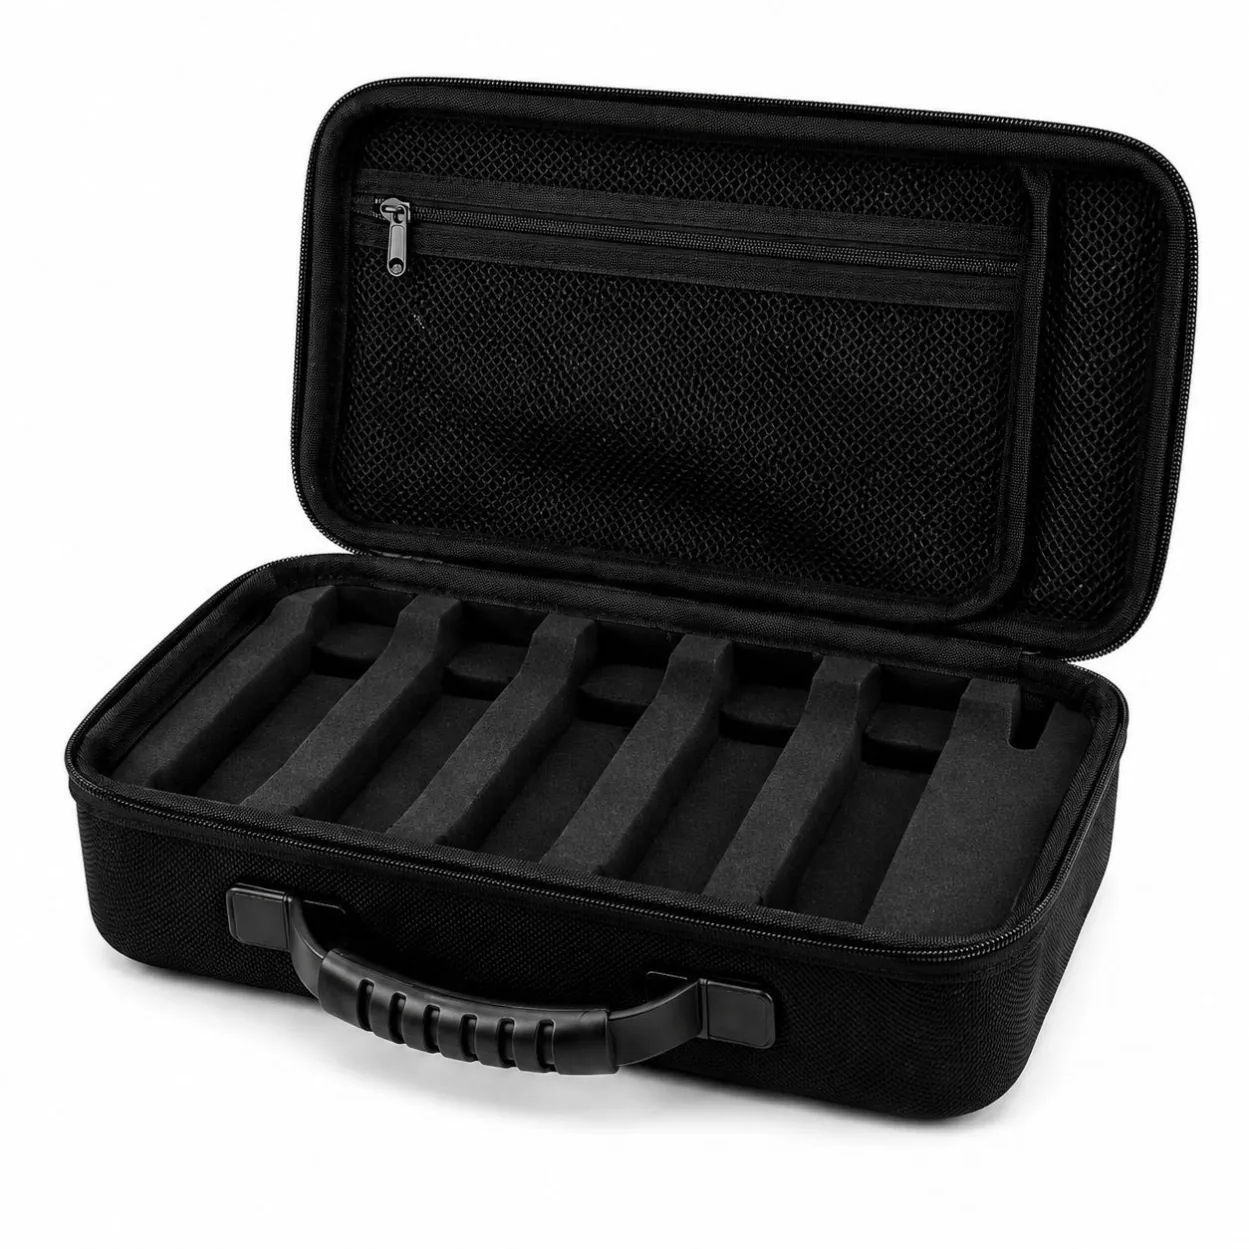
Custom foam insert
For the main instrument and sensitive components that need to stay securely in position.
Mesh pocket
For cables, chargers, manuals and accessories that may change between different equipment configurations.
Separate accessory cavities
For probes, batteries or other important components that need better organization.
Combining these methods can keep the case organized without making the interior unnecessarily complicated.
For more information about foam options, see our guide:
How to Choose the Right Foam Insert for a Custom EVA Case
4. Consider How the Equipment Will Be Used
The right case layout also depends on where and how the equipment is used.
Field Service
Technicians may open the case frequently and need quick access to probes, cables and the main instrument.
A simple layout with fixed protection for the device and flexible storage for accessories is often more practical.
Equipment Sold as a Complete Kit
If the case is supplied together with the equipment, presentation and organization become more important.
Each component should have a clear place so the customer immediately understands how the complete kit is organized.
Sales Demo Equipment
For demonstration equipment, the interior should look clean when the case is opened while still allowing the product to be removed easily.
The best layout is not always the one with the most compartments. It is the one that matches how the equipment is actually used.
5. Check the Complete Kit Before Production
A drawing can help confirm the general layout, but the final sample should be checked with the complete equipment set whenever possible.
Important points include:
- Does the main instrument fit securely?
- Can the equipment be removed easily?
- Are cables and probes easy to store?
- Does the case close without excessive pressure?
- Are screens, connectors and controls properly protected?
- Does anything move when the case is carried?
These checks are especially important when several accessories share the same case.
Before approving production, you can also refer to our Custom EVA Case Sample Approval Checklist.
What Should You Send for an Initial Case Review?
You do not need a complete engineering package to start discussing a carrying case.
For an initial review, the most useful information is:
- Main equipment dimensions (L × W × H)
- Photos of the equipment
- Accessory list and approximate dimensions
- Preferred arrangement, if any
- Estimated order quantity
For projects that move to detailed sampling, 3D CAD files such as STEP/STP or physical product samples can help confirm a more accurate fit.
Need a Carrying Case for Your Test Equipment?
Bravie Case works on custom EVA carrying case projects for test instruments, measuring equipment and professional electronic devices.
If you already have the equipment and accessories, send us the dimensions, photos, accessory list and estimated quantity.
We can review the project and help determine whether an existing case size, semi-custom solution or fully customized EVA case is a practical starting point.
Email your equipment dimensions, photos, accessory list and estimated quantity to info@braviecase.com.